Embedding Jmol Images


Here you will be introduced to the basics for embedding a Jmol image into a web page. This can be done on a local computer without the benefit of a web server by opening your web page directly with your web browser. If you wish to share your web page with the world, you will need to place the files for you site on a web server.

Having said this, if you plan to create web pages containing Jmol images on your local computer, you should place the pages in a location on you local drive that can be served by your operating system's personal web server. For example, under Mac OS X, place your pages in the "Site" folder, which is located in your home directory. If this is not done, you may experience some problems getting Jmol to work properly.

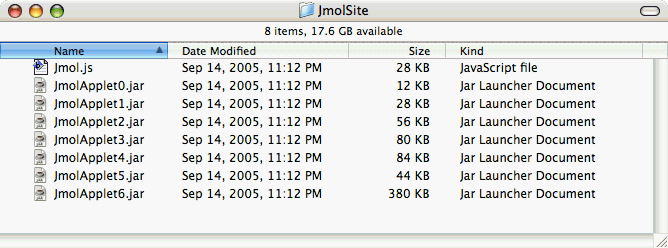
To incorporate a Jmol image into a web page you will need the JmolApplet.jar Java applet file(s). For earlier versions of Jmol this was a single file, "JmolApplet.jar", but for more recent versions it is a collection of seven files, "JmolApplet0.jar through JmolApplet6.jar". It seems to work best if the applet files are placed in the root level of your website. The JmolApplet files can be downloaded from the Jmol website.

In addition to the applet file(s), you need a minimum of two additional files: one is the HTML document that lays out your web page, the other is the pdb file that contains the coordinates for the molecule you wish to display. Both of these files should be saved as "text only" files. The first should have a file name extension of ".html", and the second should have the file name extension of ".pdb".

Finally, there is one more file you will want to include in your site. It is the "Jmol.js" file. This file contains a library of useful Javascript functions that can be called from you web page to make implementing Jmol easier. We will be using this library for this tutorial

To get started, create a folder on your hard drive that is located within a directory that can be served by your operating system's personal web server. Then place the following items in that folder:

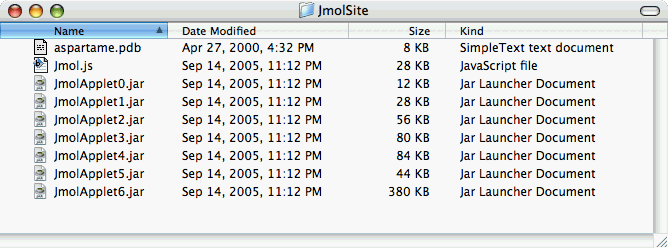
For this tutorial we will use a pdb file containing the atomic coordinates for aspartame. If you do not have this file, you can obtain it by click-pausing (Macintosh) or right-clicking, and selecting "Save this Link as ..." from the pop-up menu that appears. Click here to obtain the pdb file for aspartame; you may need to right-click on this link and select "Save linked file..." to down load and save this pdb file.

Place the "aspartame.pdb" file in the same folder as the Jmol files:

For creating the HTML file you can use any text editor, such as TextEdit with Mac OS X, or WordPad or NotePad with Windows. The freeware program BBEdit Lite, from Bare Bones software, is also an excellent choice for Macintosh users. A word processor, such as Microsoft Word, can also be used, but you must be careful to save your files as "Text only".

Open your text editor and enter the following HTML tags; these are the minimum components of all web pages. (If you are feeling really lazy, you can copy and paste the text shown below into your text editor).

<HTML>

<HEAD>

</HEAD>

<BODY>

</BODY>

</HTML>

Save this page as "firstshot.html" in the same location as the "aspartame.pdb" file, then try opening it with your web browser. If you have done this properly it should look like this. What do you see? Not much? That is because the page contains no content. Now let's give your page some content. Open "firstshot.html" with your text editor and edit it to include the following:

<HTML>

<HEAD>

<TITLE>My Page</TITLE>

</HEAD>

<BODY>

Sugar is sweet,<P>

But Nutrasweet is sweeter.

</BODY>

</HTML>

Save this page as "secondshot.html" and try opening it with your browser. If you have done this properly it should look like this. The text between the <TITLE> </TITLE> tags appears in the title bar of the browser window. Anything between the <BODY> </BODY> tags appears in the body of the browser window. The <P> tag is a paragraph return.

Now let's embed a Jmol model. Open "secondshot.html" with your text editor and edit it to include the following:

<HTML>

<HEAD>

<TITLE>My Page</title>

<SCRIPT SRC="./Jmol.js"></SCRIPT>

</HEAD>

<BODY>

<SCRIPT>
jmolInitialize(".")
</SCRIPT>

Sugar is sweet,<P>

But Nutrasweet is sweeter.<P>

<SCRIPT>
jmolApplet(300,"load aspartame.pdb")
</SCRIPT>

</BODY>

</HTML>

Save this page as "thirdshot.html" and try opening it with your browser. If you have done this properly it should look like this.

When using the Jmol.js script library to include Jmol images in a web site, a minimum of three Javascripts are needed:

In the <HEAD> section of the web page you include a script that tells the web page where the the Jmol.js script libary is located.

<SCRIPT SRC="./Jmol.js"></SCRIPT>

In the <BODY> section of the web page there is a second script that tells the web page the path to the JmolApplet.

<SCRIPT>
jmolInitialize(".")
</SCRIPT>

The third script is also in the <BODY> section of the web page and it is the one that creates the Jmol image using the coordinates from a pdb file.

<SCRIPT>
jmolApplet(300,"load aspartame.pdb")
</SCRIPT>

This last script has two arguments. the first sets the size for the the Jmol image; in this case 300 pixels x 300 pixels. The second argument is a rasmol script in quotation marks. The script shown here loads in the pdb file for aspartame.

bullet View the Javascripts contained in the Jmol.js library.

The file will open in its own window so that you can continue viewing this site at the same time.

bullet View a glossary of the Jmol script commands that can be used with Jmol.

To add to the RasMol script to display the aspartame as a spacefill model, edit the file "thirdshot.html" to include the following:

<HTML>

<HEAD>

<TITLE>My Page</title>

<SCRIPT SRC="./Jmol.js"></SCRIPT>

</HEAD>

<BODY>

<SCRIPT>
jmolInitialize(".")
</SCRIPT>

Sugar is sweet,<P>

But Nutrasweet is sweeter.<P>

<SCRIPT>
jmolApplet(300,"load aspartame.pdb;select *;
spacefill on;color cpk"
)
</SCRIPT>

</BODY>

</HTML>

Save this page as "fourthshot.html" and try opening it with your browser. If you have done this properly it should look like this.


Previous:Obtaining Coordinates Next: Controls

Updated:Fri, Nov 10, 2006