Page 2: Embedding Jmole Images
[Home] [Page 1] [Page 2] [Page 3] [Page 4] [Page 5] [Page 6] [Page 7]
Below is an embedded Jmol image. It contains an initialization script which highlights and orients it to look like the image on Page 1. (This is a link to page 1.)
Jmol images are Java applets. Because Jmol is Java based, it does not require anything of the browser except that it be Java capable. There are no plugins that need to be installed for a browser to view a web page containing a Jmol image. The software required for a browser to view a Jmol image is downloaded to the browser when a web page containing Jmol image is loaded into the browser. For this to work, the Jmol applet code must be reside in the web site that serves pages containing Jmol images.
The Jmol applet software is open source and the most recent version can be downloaded from the www.jmol.org website. Version 10.00.43, which was used in creating this tutorial, can be downloaded by clicking here.
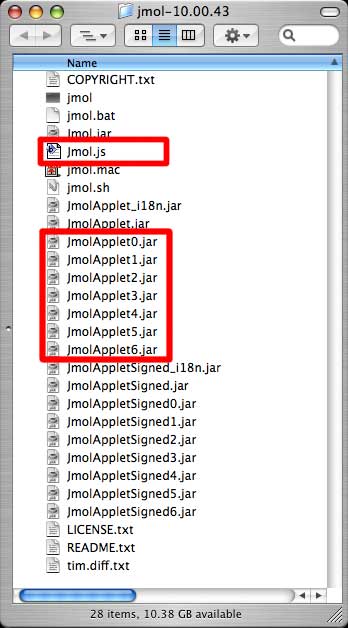
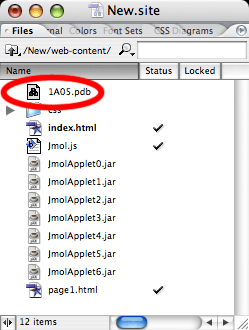
The software is downloaded as gzipped tar file, which when expanded, comprises a folder containing the following files:
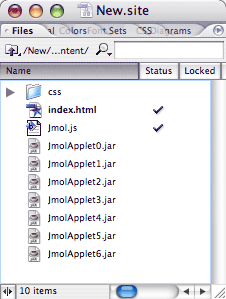
Here are the steps that can be used to embed a Jmol image in a web page. The image will be placed on page1.html, within the new site.
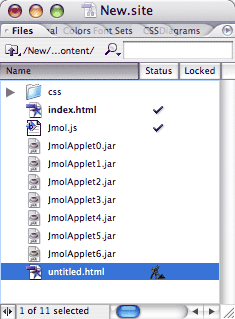
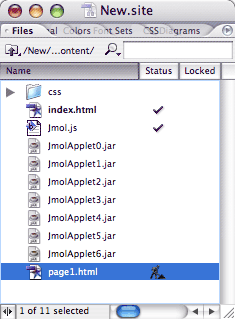
Use GoLive to add a new page to the site and name it "page1.html"
A pdb file containing the coordinants of the molecule that will be viewed in the Jmol image, also needs to be added to the site. The pdb file for the 3-Isopropylmalate dehydrogenase (1A05.pdb) can be downloaded by clicking here. Download it an place it in the site directory:
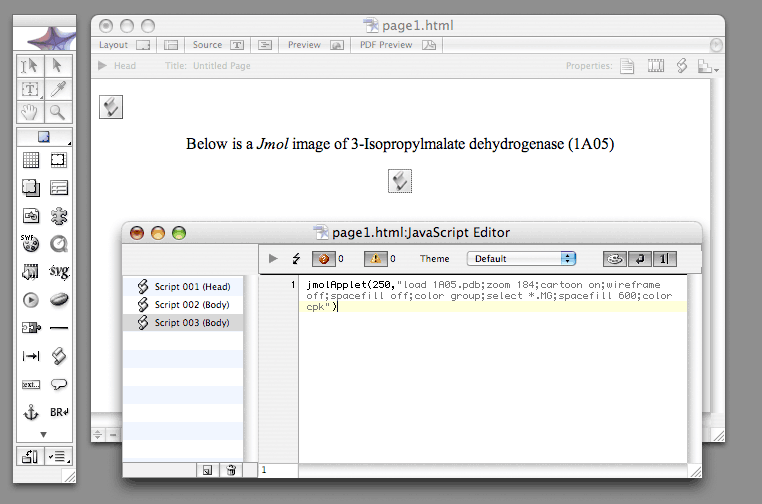
Three Javascripts are needed to embed a Jmol image into page1.html; one in the <HEAD> section of the page, and the other two in the <BODY> section. The first one estabishishes a link to the "Jmol.js" script library. The second one, called "jmolInitialize", should be placed at the beginning of the <BODY> section and tells the page where the JmollApplet files are located. The third one, called "jmolApplet", embeds the Jmol image on the page; it should be placed where you want the image to be located.
For the first script, open the page.html file, then open the <HEAD> section of the page, and drag-and-drop the script icon from the "Head" tab of the Object pallet into the <HEAD> section of the page. The slide show below shows the three steps for doing this; click on any slide to advance to the next slide.
For the second script, which tells the page1.html file where to find the JmolApplet#.jar files, drag-and-drop the script icon from the "Basic" tab of the Object pallet into the <BODY> section of the page. The slide show below shows the three steps for doing this; click on any slide to advance to the next slide.
For the third script, which embeds the Jmol image, drag-and-drop a second script icon from the "Basic" tab of the Object pallet into the <BODY> section of the page. The slide show below shows the three steps for doing this; click on any slide to advance to the next slide.
Viewing page1.html in a browser should produce the following results:
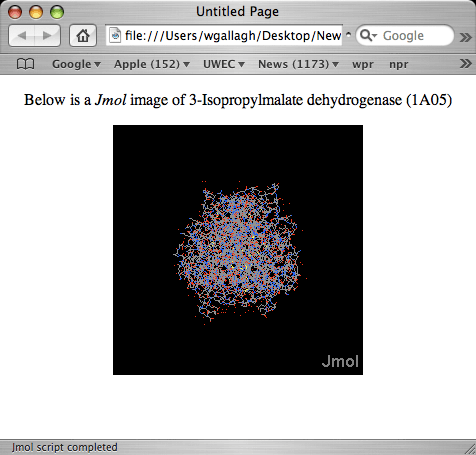
This Jmol image shows the 3-Isopropylmalate dehydorgenase molecule in the default format, which is ball & stick. To have this image look like the one shown above, we need to add some additional RasMol commands to the script
These include turning on the cartoon representation for the protein while turning off the spacefill (ball) and wireframe (sticks) representationastions; coloring the polypeptide chains by group, which colors the amino acid residues, starting a the C-terminus and moving toward the N-terminus, acording to the colors of the rainbow(ROYGBIV), and zooming the view to 184 %. Also, there is a magnesium ion, which is given a spacefill representation and colored according to element type (cpk). The Rasmol commands should be separated by semicolons. If you want the script to appear on multiple lines, turn on the word-wrap in the JavaScript Editor; do not use returns.
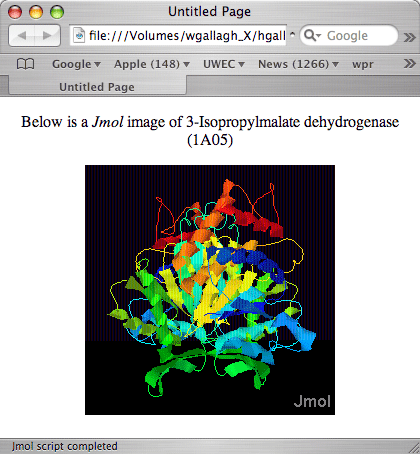
When viewed in a browser, page1.html should now look like this:
[Home] [Page 1] [Page 2] [Page 3] [Page 4] [Page 5] [Page 6] [Page 7]